What is Hyper-V?
Hyper-V is Microsoft’s virtualization software. It can be used to spin up virtual computers that run inside Windows. Hyper-V has been around for a while, but it’s never been this easy to use. In the past I used VM Ware for my local development virtual machines, and I loved it. But Windows 8 has stepped up the game and given me a near-perfect virtualization solution that comes included. This tutorial is intended for people with either the Pro or Enterprise versions of Windows 8, as they are the only versions that come pre-loaded with Hyper-V.
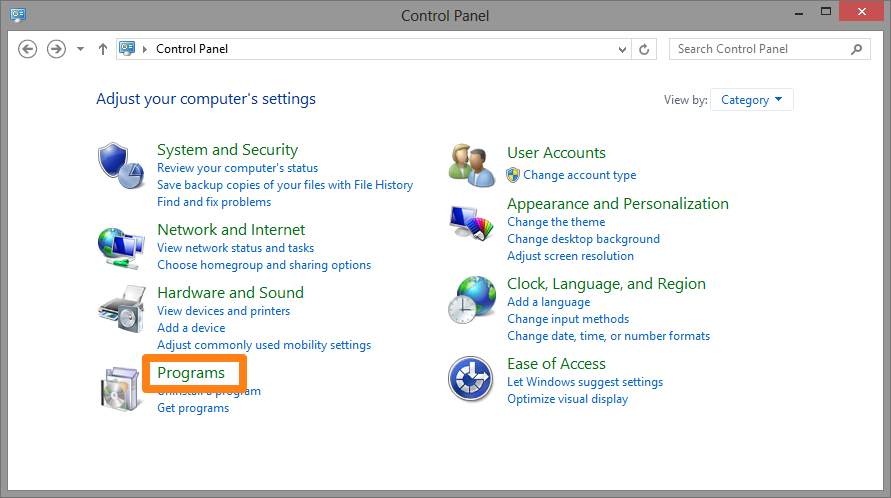
Run Control Panel. Click on Programs.
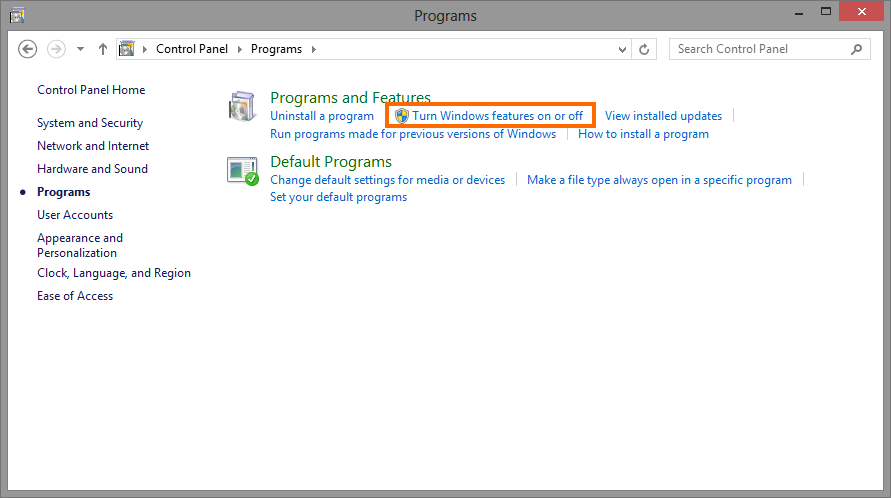
Click Turn Windows features on or off.
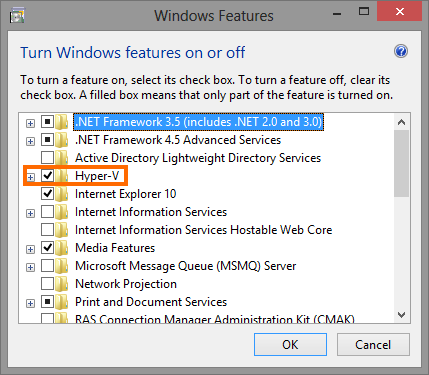
Check the box next to Hyper-V. This will install both the management tools and all the necessary files to run VMs.
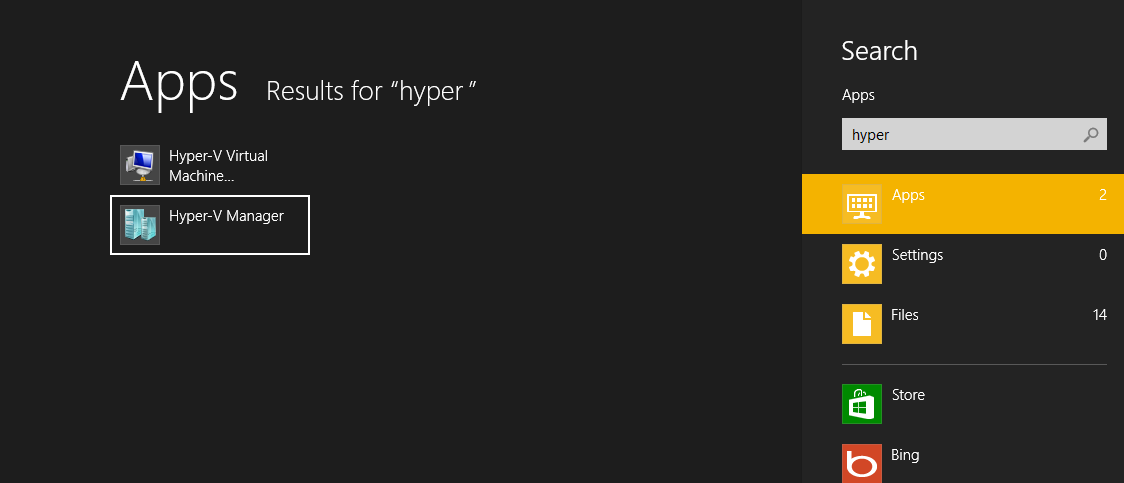
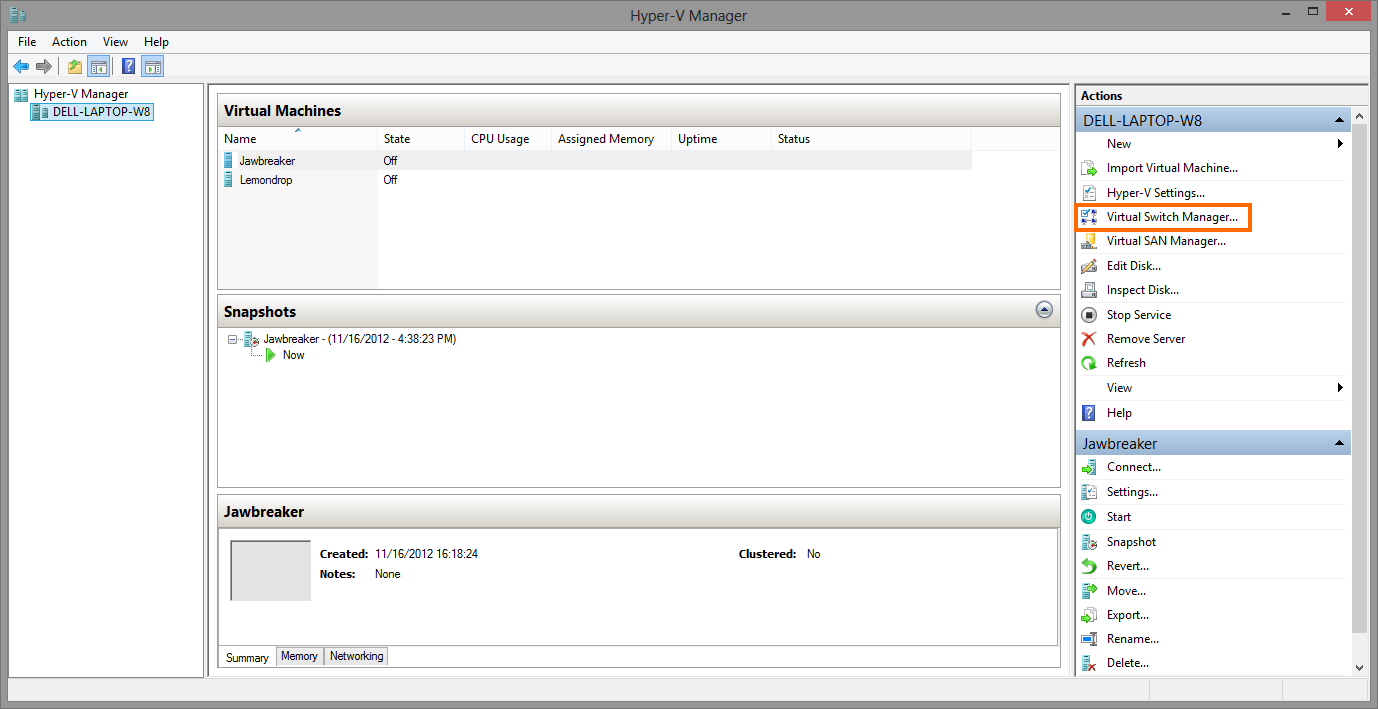
Wait for the process to complete. Then hit the WIN key and type hyper manager. You should see Hyper-V Manager, click on it.
Now we need to setup a virtual switch so our VMs can access the internet through our host operating system. Click Virtual Switch Manager…
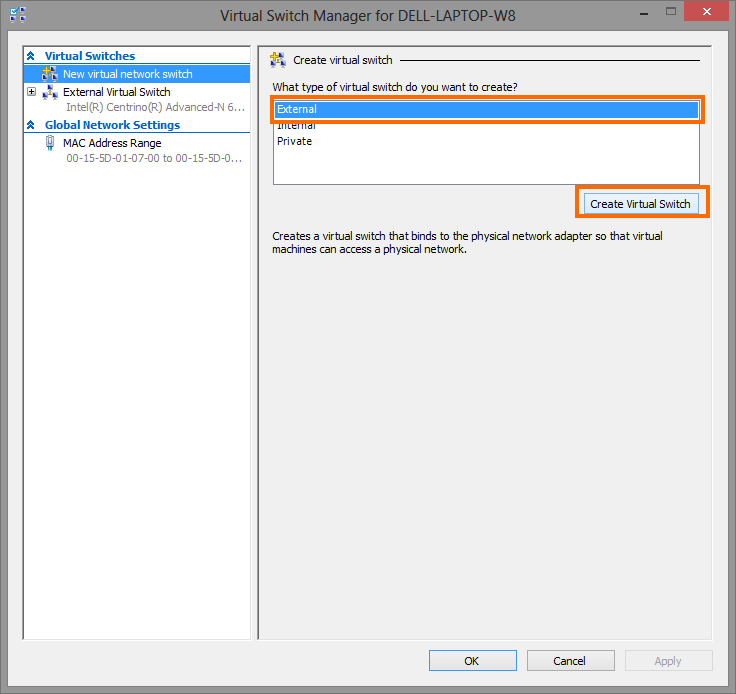
Select External and then Create Virtual Switch. This will permit our VMs to access the external internet.
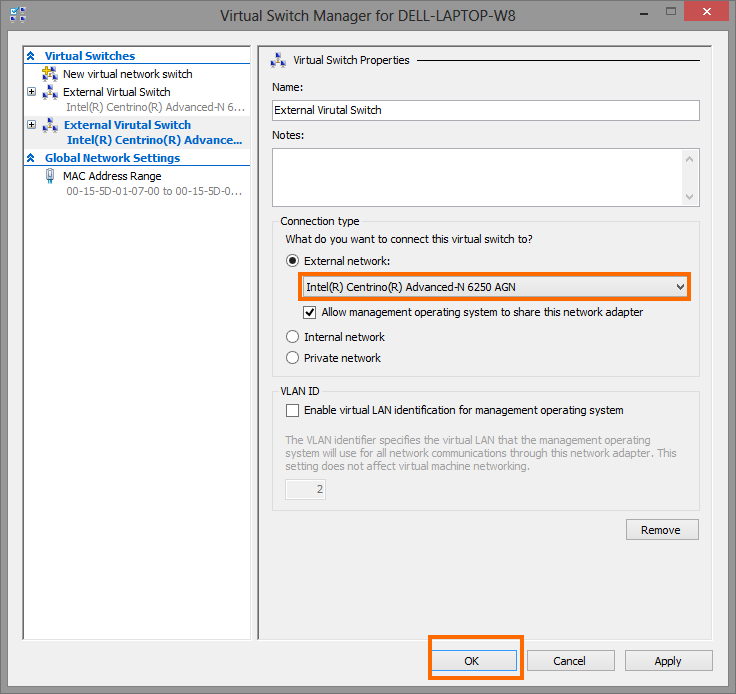
Name the virtual switch and select the adapter that you are currently accessing the internet through. In my case it was my wireless card. Click Ok.
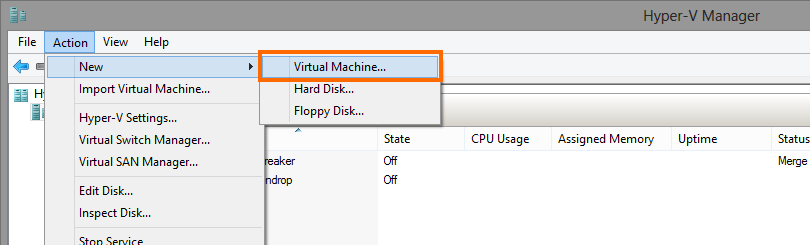
Now we need to create a VM. Select Action > New > Virtual Machine…
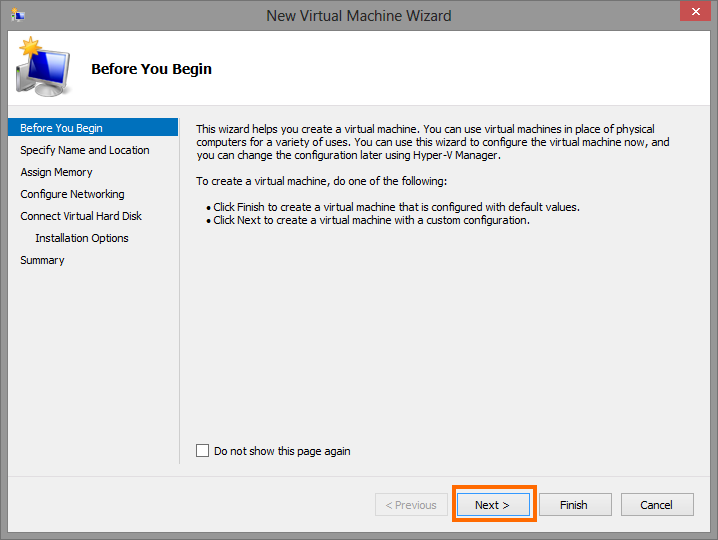
Click Next
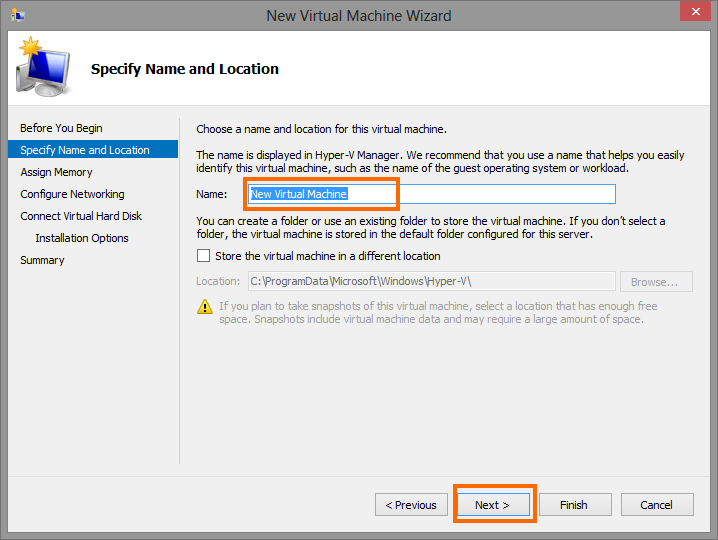
Name your new virtual machine and optionally select where you want the files to be stored on disk. Click Next.
Pick the amount of memory you want to allocate the new machine. Click Next.

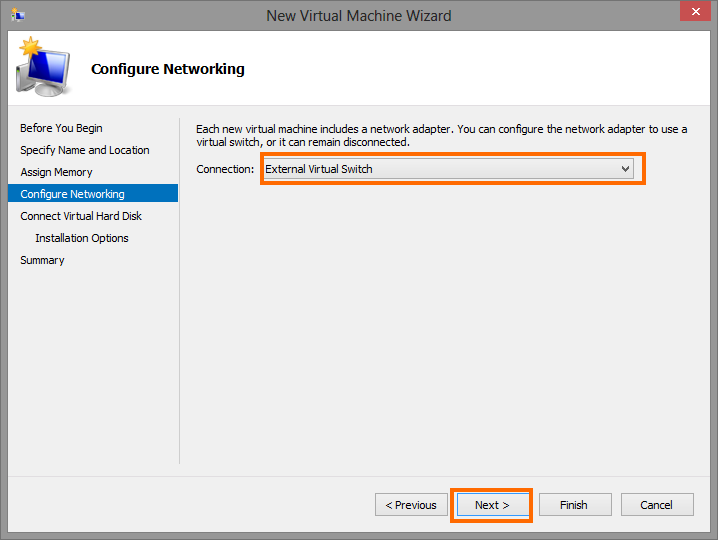
In the Connection: drop down, select the virtual switch we created earlier.
Choose the size of your virtual hard disk then click Next.

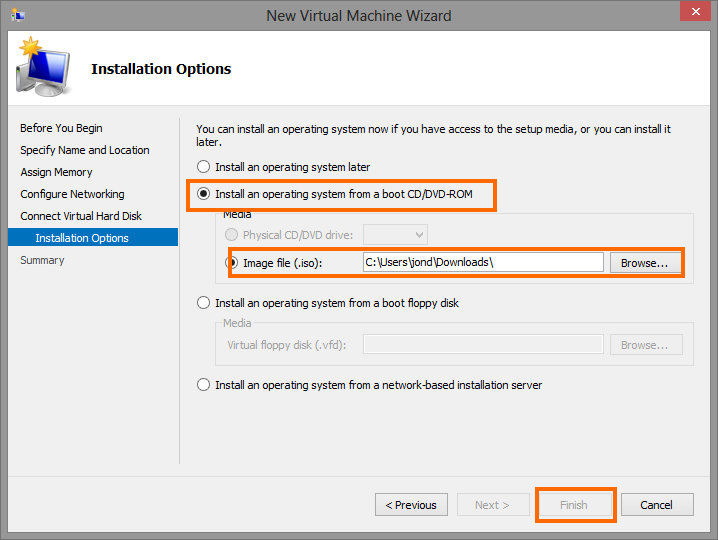
I like to install my operating system from ISO files on my computer. These files are essentially CD images that can be mounted to VMs. Once you pick an ISO file, click Finish.
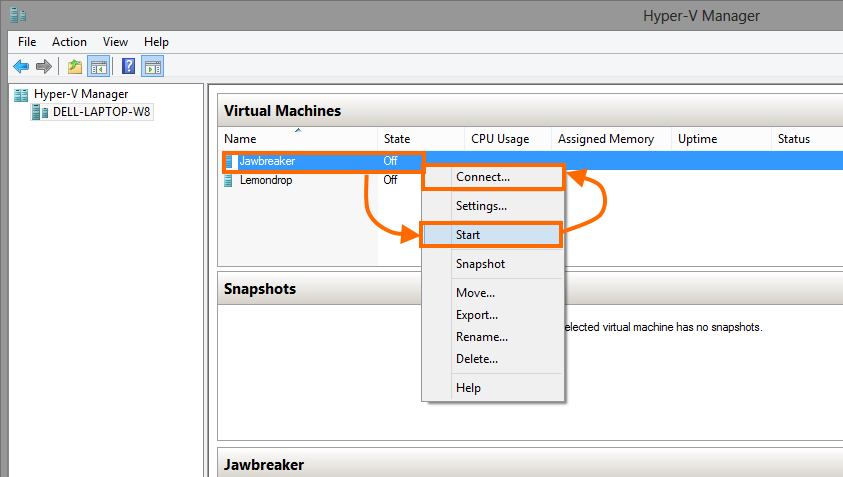
Once your VM has started, right click the VM, then click Start. The VM will then boot up, you can right click the VM again and click Connect… to open a new window in which you can control the VM.

Happy VM’ing on Windows 8!